










We also considered 10 others:


Our Top Choice
Compare Features


The order above is not editorial opinion, and it is not paid placement. It comes from what shoppers across our network actually do - which rear cameras for rvs they compare, and which they ultimately buy. We re-rank as new data comes in, so the long-term favorites have to keep earning their spot against new entrants. The full method, including how we make money.
Rear Cameras for RVs Buyer's Guide
RV rear cameras have to do more than help with a driveway backup: they need to hold a stable signal across a long trailer, survive vibration and weather, and give a usable rear-view image while towing at highway speed. The biggest checks are whether the system matches your RV’s prewire/power setup and whether the video, latency, and monitor layout are good enough for lane changes, campsite backing, and night arrivals.
Features
Features matter because they determine whether a dash camera simply records or actively helps you drive, park, and review incidents more easily. Look for useful tools like parking monitoring, emergency recording, GPS, voice control, rear or cabin views, and backup or mirror camera modes if they fit your vehicle and habits. Watch out for extras that sound impressive but are hard to use, poorly integrated, or require separate accessories to work.
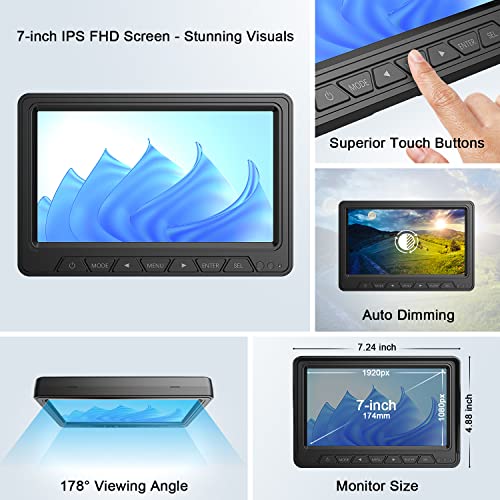
Look for RV-specific features that match how you tow: a true continuous rear-view mode if you want to monitor traffic behind the trailer, adjustable parking guidelines for backing into sites, mirror/normal image switching, side-camera or split-screen support for blind spots, and a monitor large enough to read quickly without blocking your windshield. If you use the camera on multiple trailers or equipment, a magnetic or portable mount can be useful, but it should include a secure hold and ideally a safety tether; if it is hardwired, confirm it works with your factory prewire, marker-light power, or dedicated 12V feed. Owners generally support these priorities, reporting that solid kits make backing and towing feel easier, that 7-inch and larger monitors provide a useful view, that night-capable cameras help after dark, and that plug-and-play or magnetic systems are appreciated when they reduce setup work.
Video
You want a dash camera that captures enough detail to make footage useful, not just record that something happened. Look for clear daytime video, readable license plates, balanced exposure, and strong low-light or night performance without excessive glare, blur, or grain. Be wary of cameras that advertise high resolution but deliver poor visibility in motion or in challenging lighting, since real-world recording quality matters more than specs alone.
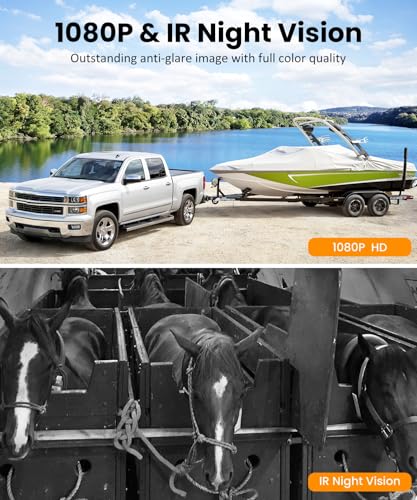
Prioritize video that is useful in RV conditions, not just high-resolution on paper: wide enough field of view to see the trailer corners without excessive fisheye distortion, strong dynamic range for sun glare and headlights, infrared or low-light performance for campgrounds, and a bright anti-glare monitor visible in the cab during daytime towing. For longer rigs, also check that the image remains fluid with low latency, because a delayed feed is risky when backing near hookups, picnic tables, or people. Owner feedback aligns with this: clear, sharp images, bright monitors, night vision, and split-screen visibility are repeatedly praised, and buyers often describe the better systems as making tight backing and blind-spot checks feel safer.
Reliability
A dash camera only helps if it records when you need it, so you should look for consistent startup, stable recording, and dependable saving of footage after bumps or sudden power loss. Pay attention to reports of overheating, random shutoffs, corrupted files, weak battery or capacitor behavior, and poor performance in everyday driving conditions, since these issues can leave gaps right when evidence matters most.
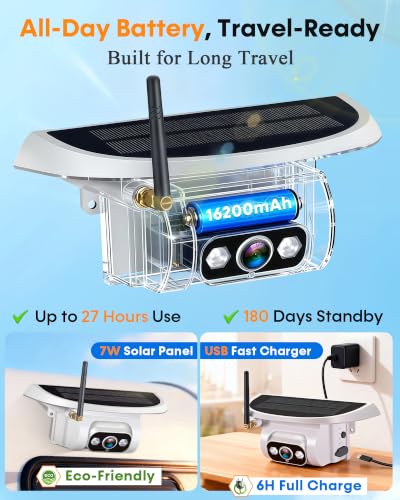
For reliability, focus on the failure modes that matter on trips: signal dropouts at the full truck-plus-trailer length, camera shutdown from weak batteries, water intrusion after rain or washing, touchscreen or button failures, and visibility problems from glare. If choosing battery or solar-assisted cameras, verify expected runtime for all-day travel and whether you can hardwire or recharge easily; for wired power, confirm the tow vehicle supplies steady voltage to the running-light circuit, since some modern trucks can cause flicker or intermittent camera power without an adapter or filter. Owners often find well-installed systems dependable with clear transmission and little lag, including on larger setups, but their mixed reports on battery charge-holding, longer-drive endurance, glare, touch controls, and the need for better dynamic range make these checks especially important.
Setup
A dash camera that’s easy to install is more likely to be positioned correctly, powered reliably, and used consistently without distracting cable clutter. Look for clear instructions, a secure mount with enough magnetic or adhesive strength, adjustable positioning, and cable length that suits your vehicle. If you want a cleaner hardwired setup or parking-mode features, check whether extra wiring steps or professional installation may be needed.
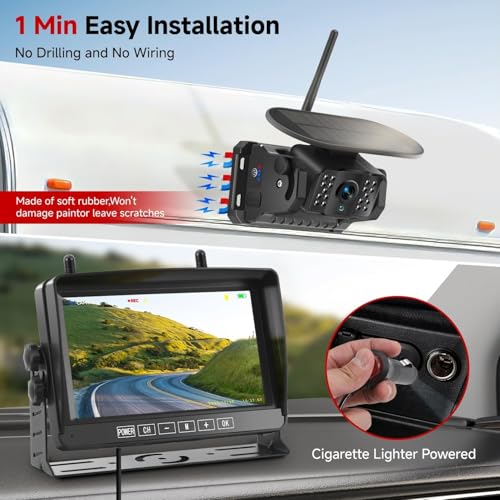
Before buying, inspect the rear cap of your RV and identify the exact installation path: factory prewire bracket, connector type, voltage, pinout, mounting-hole pattern, and whether the camera is powered by reverse lights, marker lights, or a dedicated 12V source. A “wireless” RV camera usually still needs power at the camera, so plan how you will access wiring, seal screw holes, route antennas, and place the monitor without blocking controls or airbags. Owner sentiment strongly favors systems that mount quickly, pair easily, and avoid running a video cable through the whole rig, especially on prewired RVs, but the easiest installs are the ones where the buyer verified compatibility beforehand.
Build
A dash camera’s build quality matters because it has to withstand heat, cold, vibration, and constant sun exposure while staying securely mounted and reliable when you need footage. Look for a sturdy housing, solid buttons or mounts, neat cable connections, and materials that feel resistant to warping or rattling. Be cautious of flimsy plastic, loose mounts, or designs that feel likely to shift, crack, or fail under everyday driving conditions.
Choose hardware built for an RV’s rear wall environment: waterproof housing, UV-resistant plastics, stainless or corrosion-resistant hardware, vibration-resistant brackets, sealed cable exits, and a mount that can handle highway wind, wash spray, gravel roads, and repeated campsite setup. If you use a magnetic camera, make sure the mounting surface is actually ferrous, flat, and clean, and consider a tether because losing a camera at speed is more than an inconvenience. Owners commonly describe better kits as solid, well-made, dependable after installation, and secure on rough roads; magnetic designs in particular earn praise for staying put on trailers and RVs when properly mounted.
Connectivity
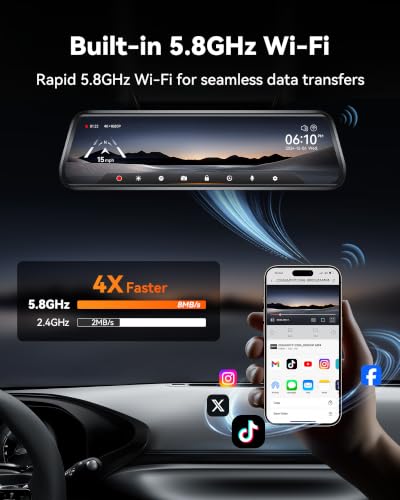
Good connectivity makes it easier to review, save, and share footage without removing the memory card, so look for a dash camera with reliable Wi-Fi pairing and a clear, stable app experience. Watch out for weak signal strength, slow file transfers, or apps that frequently disconnect, since those issues can make it harder to retrieve important clips when you need them.
For connectivity, verify the wireless range for the real distance from the RV rear cap to the cab monitor, not just a short bench-test range; long fifth-wheels, toy haulers, metal bodies, and cargo can weaken the signal. Look for external or extendable antennas, digital pairing that reconnects automatically, low-latency transmission, support for multiple cameras if you want side views, and an installation option that lets the antenna sit above obstructions rather than buried behind metal or appliances. Owners frequently praise quick pairing, immediate camera-to-monitor connection, and stable wireless links without running a long video cable, including on RV and trailer setups, but range and antenna placement remain critical for longer rigs.
1,000,000+ shoppers use Buyer's Guide every week to find the best products and services online.

Helping millions of users make smarter purchases online.