










We also considered 10 others:


Our Top Choice
Compare Features


The order above is not editorial opinion, and it is not paid placement. It comes from what shoppers across our network actually do - which trail cameras they compare, and which they ultimately buy. We re-rank as new data comes in, so the long-term favorites have to keep earning their spot against new entrants. The full method, including how we make money.
Trail Cameras Buyer's Guide
Trail cameras force a tradeoff between leaving a camera hidden for weeks and still getting identifiable, time-stamped evidence when an animal passes for only a second. The sharpest checks are night identification, trigger reliability, power strategy, and whether you truly need cellular/app access or can live with SD-card retrieval.
Image
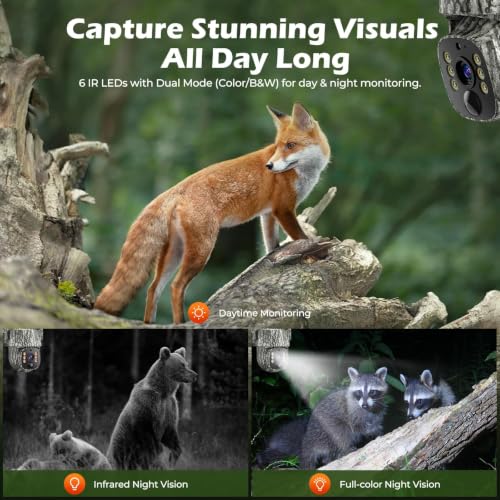
You want a trail camera with clear photos and video because the whole point is to see what passed by, when it happened, and enough detail to identify animals, people, or patterns. Look for sharp daytime color, usable video detail, and strong night vision that illuminates the scene evenly without washing out close subjects or leaving distant movement invisible. Be wary of big megapixel claims alone, since real image quality also depends on the lens, sensor, motion blur control, and how well the camera handles low light.
Prioritize identifiable wildlife evidence over advertised megapixels: look for sharp day photos, usable night infrared images, low motion blur, a fast enough shutter/trigger combination, and video settings that balance resolution with storage and battery life. For nocturnal game, check whether the camera uses no-glow or low-glow IR, its effective night range, and whether faces, antlers, license plates, or small animals remain clear rather than washed out. Owner feedback supports image quality as a major differentiator, with repeated praise for crisp daytime color, clear video, and night-vision captures good enough for wildlife monitoring.
Reliability
You need a trail camera you can trust to work consistently, because missed triggers, corrupted files, or random shutdowns can mean losing the only useful record of wildlife activity or property events. Look for signs of dependable quality and functionality, such as consistent detection, clear day-and-night captures, stable battery performance, and a weather-resistant build that holds up over repeated use.
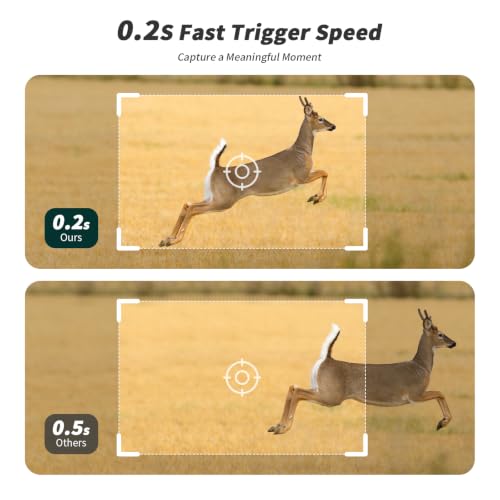
For a trail camera, reliability means it wakes, triggers, records, and saves correctly through rain, heat, cold, insects, and weeks of neglect; check weather sealing, latch quality, gasket fit, operating-temperature range, SD-card compatibility, and reports of false triggers or missed motion. Avoid models that only look good on a test bench but have weak mounts, flimsy battery doors, inconsistent PIR detection, or firmware/app behavior that requires frequent resets in the field. Owner sentiment generally backs dependable basic operation, with buyers describing many cameras as well made, straightforward, and capable of capturing yard, trail, and wildlife activity as advertised.
Value
You want a trail camera that fits your budget without forcing you to sacrifice the features that matter most, like reliable detection, clear images, battery life, and durable weather protection. Good value for money means the camera performs consistently for your use case, while a cheap option can cost more in missed shots, frequent battery changes, poor night images, or early failure.
Judge value by total deployment cost, not just the camera: factor in memory cards, batteries or solar accessories, mounts, security boxes, data plans, subscriptions, and the number of cameras needed to cover trails, feeders, gates, or property lines. If you only need local wildlife monitoring, a simple SD-card model can be the better buy; if the site is remote or hard to access, solar power, local storage, and no required subscription can matter more than extra resolution claims. Owner feedback supports strong perceived value when cameras combine useful monitoring features, clear image output, solar or local-storage options, and affordable ownership without unnecessary extras.
Battery
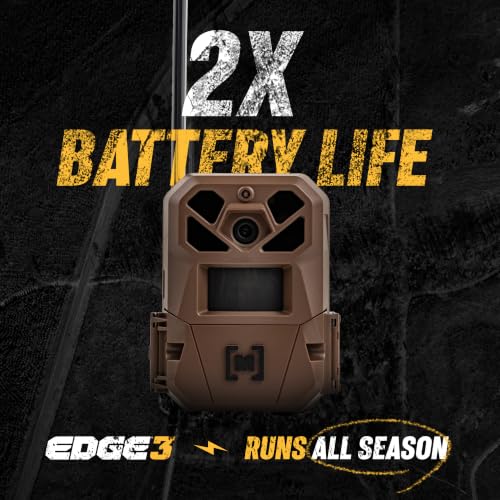
Battery life matters because a trail camera that drains quickly can miss activity and force you to visit the site more often, which may disturb wildlife or compromise your setup. Look for efficient standby performance, support for reliable battery types, and clear low-power indicators; if you want a solar-powered setup, make sure the panel can keep up in shaded, cloudy, or winter conditions rather than assuming it will run indefinitely.
Match the power setup to how often you can physically visit the camera: for remote sets, prioritize solar charging, an internal rechargeable pack plus AA backup, efficient standby draw, and cold-weather battery performance; for shaded woods, do not assume a solar panel will keep up without enough sun exposure. Check whether the camera accepts lithium AAs, how it reports battery level, and whether night video or cellular uploads will drain it faster than still photos. Owners strongly favor solar-assisted designs because they reduce battery swaps and maintenance trips, with multiple reports of long outdoor deployments staying charged even in difficult weather.
Ease
Ease of use matters because a trail camera often needs to be set up quickly in the field, sometimes in low light, bad weather, or with gloves on. Look for clear menus, simple controls, straightforward mounting and aiming, and an easy way to review or adjust settings; watch out for confusing apps, tiny screens, or buried options that make basic tasks harder than they should be.
Choose controls that make field work faster: front-facing screen or clear menu layout, simple date/time setup, easy SD-card formatting, test mode for aiming, visible battery status, and access that does not require unstrapping the camera from a tree. Avoid confusing menus if you will be changing PIR sensitivity, burst mode, time-lapse, delay, or video length while standing in rain, snow, or low light. Owner sentiment supports ease of use as a strength, with buyers often describing quick setup, beginner-friendly instructions, intuitive menus, convenient footage review, and simple SD-card handling.
Connectivity
If you want images sent to your phone instead of pulled from an SD card, connectivity determines how reliably a trail camera can transmit from the places you actually use it. Look for support that matches your setup, whether that is cellular, Wi-Fi, or Bluetooth, and pay attention to signal needs, data or subscription requirements, battery impact, and how easy the app is to use for alerts, settings changes, and image management.
Decide first whether connectivity solves a real trail-camera problem: cellular is valuable for remote land, long driveways, farms, and security spots where retrieving an SD card is disruptive, but it requires carrier coverage, activation, data management, and usually ongoing service; Wi-Fi/Bluetooth is mainly for short-range phone access near the camera, not true remote monitoring. Check supported networks, antenna placement, app reliability, remote setting control, image upload limits, and whether the camera still records locally if the signal drops. Owner feedback supports wireless convenience when it is implemented well, with praise for quick pairing, QR-code or app activation, remote viewing, setting changes without taking the camera down, and useful placement beyond normal Wi-Fi-camera reach.
1,000,000+ shoppers use Buyer's Guide every week to find the best products and services online.

Helping millions of users make smarter purchases online.