









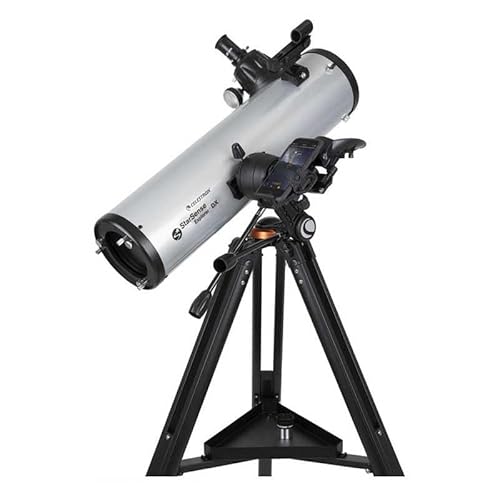


We also considered 10 others:


Our Top Choice
Compare Features


The order above is not editorial opinion, and it is not paid placement. It comes from what shoppers across our network actually do - which smart telescopes they compare, and which they ultimately buy. We re-rank as new data comes in, so the long-term favorites have to keep earning their spot against new entrants. The full method, including how we make money.
Smart Telescopes Buyer's Guide
Smart telescopes trade traditional eyepiece skill-building for app-guided finding, tracking, and often live-stacked imaging, so the key question is not just “how powerful is it?” but whether its software, mount, optics, and phone workflow match how you will actually observe. Check phone compatibility, alignment requirements, battery life, tripod stability, and whether the system is built for visual Moon/planet viewing, deep-sky imaging, or both.
Ease
A telescope that’s easy to use helps you spend more time observing and less time troubleshooting alignment, focusing, or shaky adjustments. Look for intuitive controls, clear setup steps, smooth mount movement, and stable construction; watch out for designs that require frequent recalibration or make basic aiming and tracking feel tedious.
Look for a smart telescope that reduces the hard parts of astronomy without hiding critical controls: the app should clearly handle alignment or plate-solving, target selection, focusing prompts, exposure/stacking settings, and recovery when tracking fails. Avoid systems that depend on a fragile phone position, unclear calibration steps, or an app your device cannot run smoothly; for families and beginners, the best experience is one where the scope can be carried outside, leveled, connected, aligned, and pointed at the Moon or a bright target without a long troubleshooting session. Owner feedback supports this priority: many buyers describe beginner-oriented smart or phone-assisted scopes as straightforward to assemble and operate, with app guidance and phone docks making object-finding much easier than manual star-hopping.
Optics
Optics determine how sharp, bright, and detailed celestial objects look, so you should prioritize clear image quality over simply chasing the highest magnification. Look for a telescope with good sharpness across the field of view, smooth and precise focus, and enough aperture to support useful magnification without making the image dim or blurry. Watch out for exaggerated magnification claims, since poor optical quality or a shaky setup can make planets, stars, and deep-sky objects harder to see clearly.
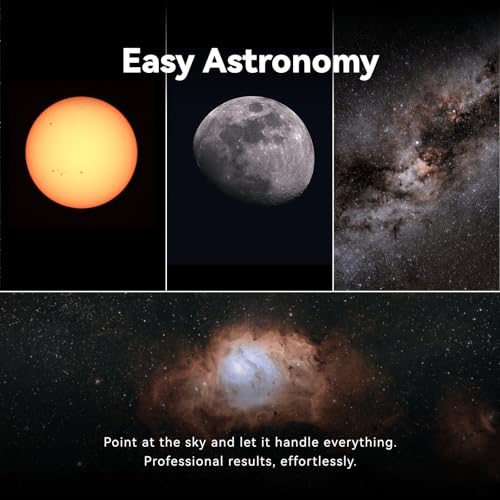
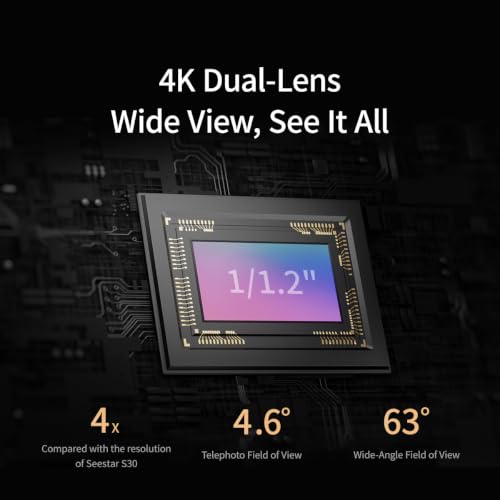
Match the optics to your main targets: larger apertures and stable focusers matter for bright, detailed Moon and planet views, while smart scopes aimed at nebulae and galaxies rely heavily on sensor quality, focal ratio, tracking accuracy, filters, and live stacking rather than aperture alone. Check whether the optical design needs collimation, whether the field of view fits large nebulae or only smaller objects, and whether the system can handle light pollution with appropriate exposure control or filters. Owners often praise clear, sharp views of the Moon, craters, planets, stars, and Jupiter’s moons, and they also report impressive deep-sky images from compact smart scopes when stacking and processing are well implemented.
Features
Features determine how much you can actually do with a telescope beyond basic viewing, from app-guided object finding and tracking to astrophotography support and the usefulness of included accessories. Look for capabilities that match your goals and experience level, and watch out for bundles that emphasize lots of extras while skimping on core performance, stable mounts, or optics that will matter most in real use.
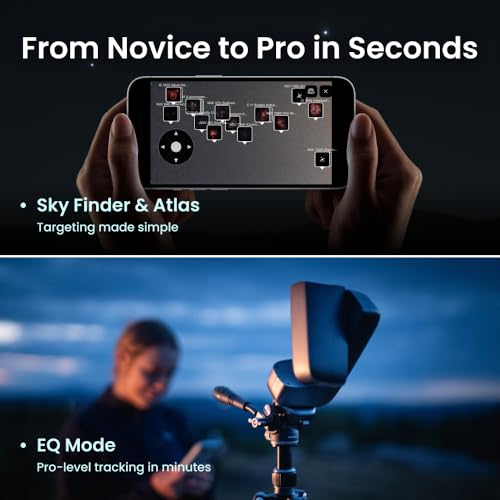
Prioritize smart features that solve real observing problems: reliable automatic target finding, tracking, plate-solving, live stacking, focus assistance, image export, and app-based object catalogs are more important than novelty modes. Check for offline usability, firmware update history, storage options, raw or high-quality image export if you want to edit later, and safety controls for solar observing—never use solar modes or sunspot viewing without a proper full-aperture solar filter or manufacturer-approved solar setup. Owner sentiment backs the usefulness of these features: buyers repeatedly value phone-guided object finding, automatic tracking, phone viewing, internal stacking, and app-driven imaging because they make astrophotography and deep-sky viewing feel far less complicated.
Build
Build quality matters because a telescope needs to stay stable, aligned, and usable through repeated setup, transport, and outdoor conditions. Look for solid materials, smooth-moving parts, secure fittings, and a sturdy mount or tube assembly; watch out for flimsy plastics, loose knobs, wobble, or parts that feel prone to flexing or misalignment.
For this category, build quality is mostly about keeping the image steady and the electronics protected: choose a rigid tripod or base, a mount with minimal wobble/backlash, a smooth focuser, secure phone or accessory attachment, and housings/ports that can tolerate dew, cold, and repeated outdoor transport. Avoid flimsy legs, undersized mounts, exposed connectors, or optical tubes that shake during focusing, because smart tracking and stacking cannot fully rescue a vibrating setup. Owners commonly describe well-liked beginner and upgrade scopes as solid, stable, securely packaged, and capable enough to keep new observers engaged, with steadier tripods helping views stay usable.
Setup
Setup matters because a telescope that’s hard to assemble or align can turn a clear night into a frustrating one, especially if you’re new to observing or need to move your gear often. Look for clear instructions, manageable parts, stable mounting, and an alignment process that matches your patience and experience level. Be cautious of systems that promise advanced tracking or automation but require complicated calibration before you can reliably start viewing.
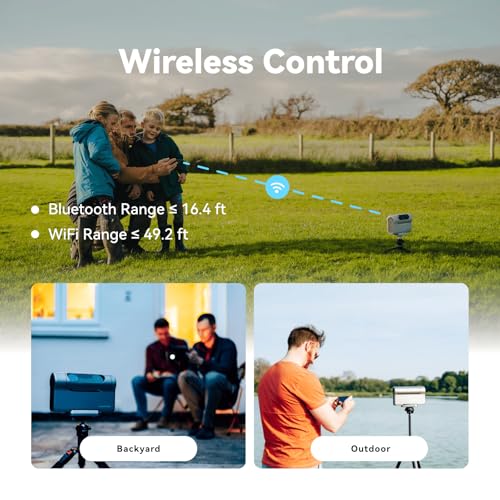
Before buying, map the real first-night setup: charging, app install, account creation, firmware updates, Wi-Fi/Bluetooth pairing, leveling, time/location permissions, finder or camera calibration, focus, and first alignment target. A good smart telescope should make these steps explicit and repeatable, especially if you observe from a yard with trees, balconies, bright lights, or limited sky; be wary of systems that require perfect horizons or complicated calibration every session. Owner feedback is encouraging here, with many buyers reporting straightforward assembly, quick app/finder connection, and first Moon views or useful images soon after unboxing when they follow the directions.
Value
Value matters because a telescope’s price should match the quality of its optics, mount, accessories, and ease of use—not just its magnification claims. Look for a package that performs well out of the box and leaves room to grow, and watch out for cheap bundles that include shaky mounts or low-quality eyepieces that make observing frustrating.
Judge value by the complete observing system, not just the telescope: include the cost and need for a compatible phone or tablet, batteries or power banks, dew control, filters, storage, tripod upgrades, image-processing workflow, carrying case, and any app limitations or subscriptions. If you mainly want visual Moon and planet viewing, a simpler assisted or manual setup may be better value than a deep-sky imaging smart scope; if you want galaxies and nebulae from light-polluted locations, automated stacking and tracking can justify paying more. Owners generally see beginner packages as good value when they feel reliable, include useful accessories, and produce satisfying views or images without requiring a much more advanced traditional setup.
1,000,000+ shoppers use Buyer's Guide every week to find the best products and services online.

Helping millions of users make smarter purchases online.